I have made this bracelet a long time back but did not post it for a long time… Reason : forgot !! Oops…
Here is the DIY with steps and pics.
Materials required :-
Any thread (I chose one that was silky smooth)
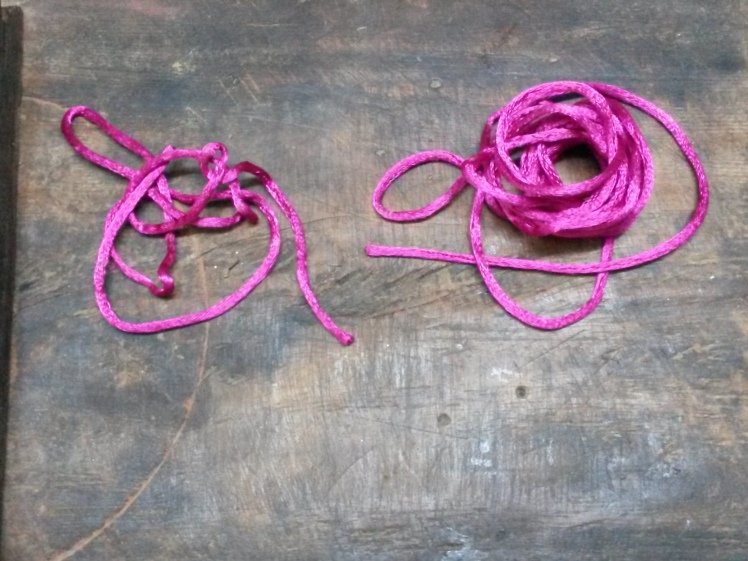
I took 2 threads, one measuring around 40 cm and the other, 120 cm (you may not require this long, however, its better to have extra so you can snip it off later)
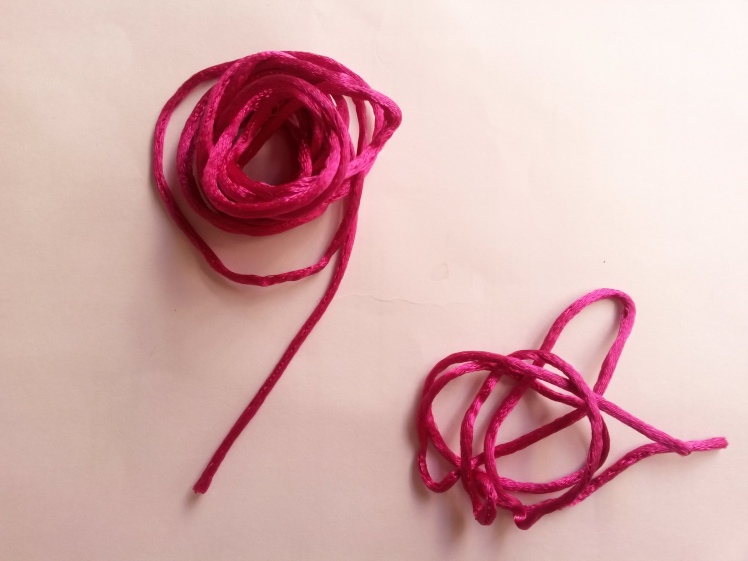
Start with the smaller thread. Fold it in half and tie a knot (double knot works great) in one end.
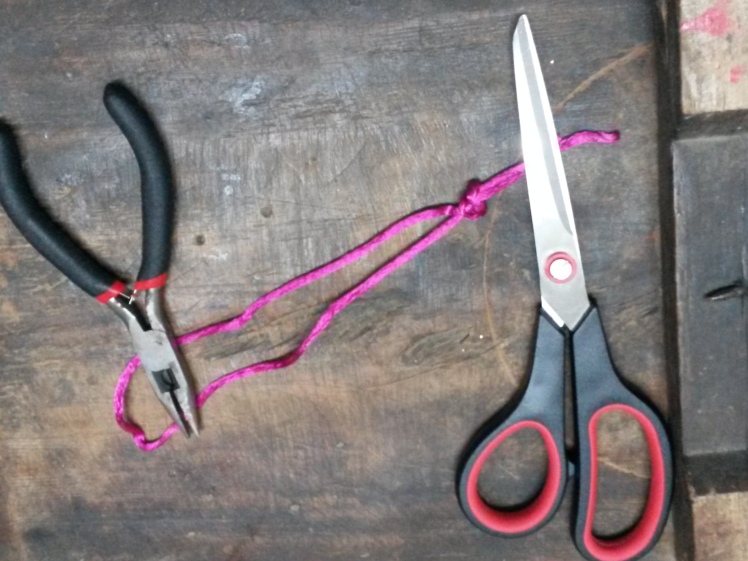
Wrap around your wrist and make sure it s a little loose, as the macrame knot will occupy some space and make it a little tight.
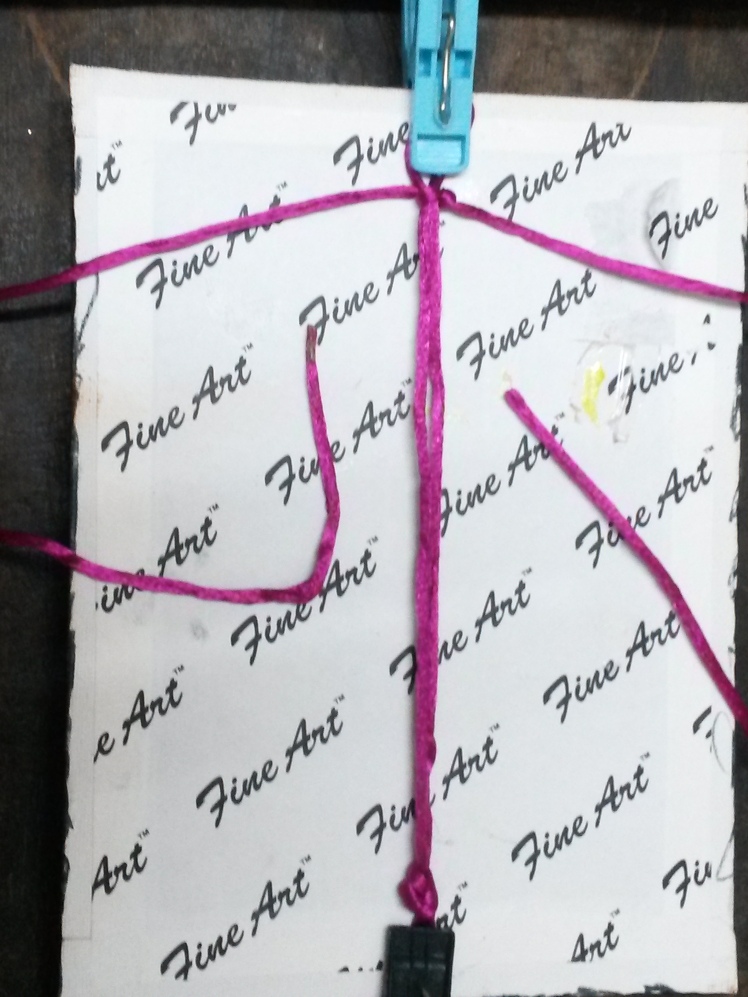
Secure your small thread by clipping on to a board.

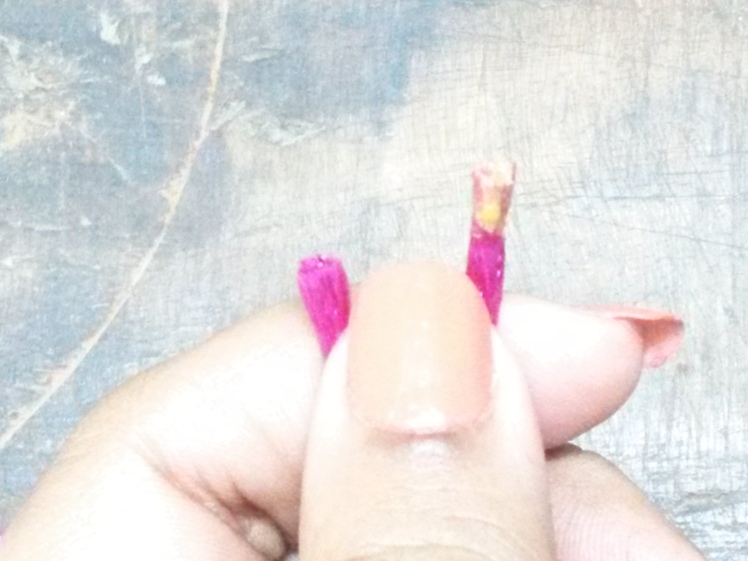
Take your bigger thread and fold it into half and place it under the smaller thread. Apply one end with some nail polish for identification.
Take your nail polish end(left side) and push it under the small thread and take it out and place it over right side thread.
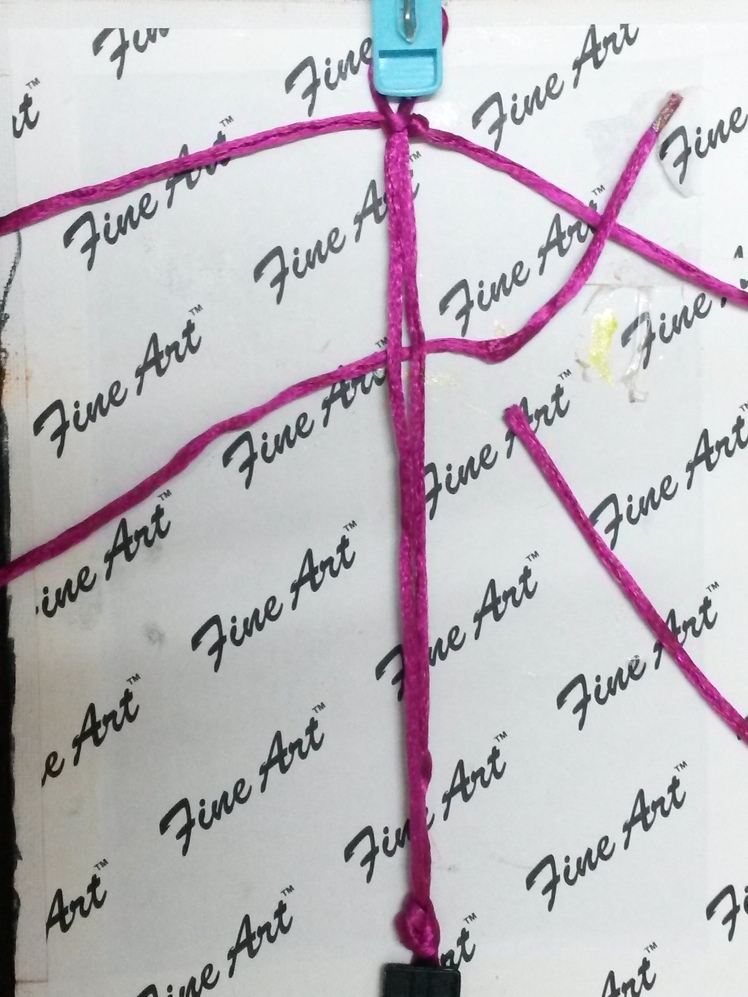
Take your right side end and pop it over the smaller thread and then under the left hand side thread.
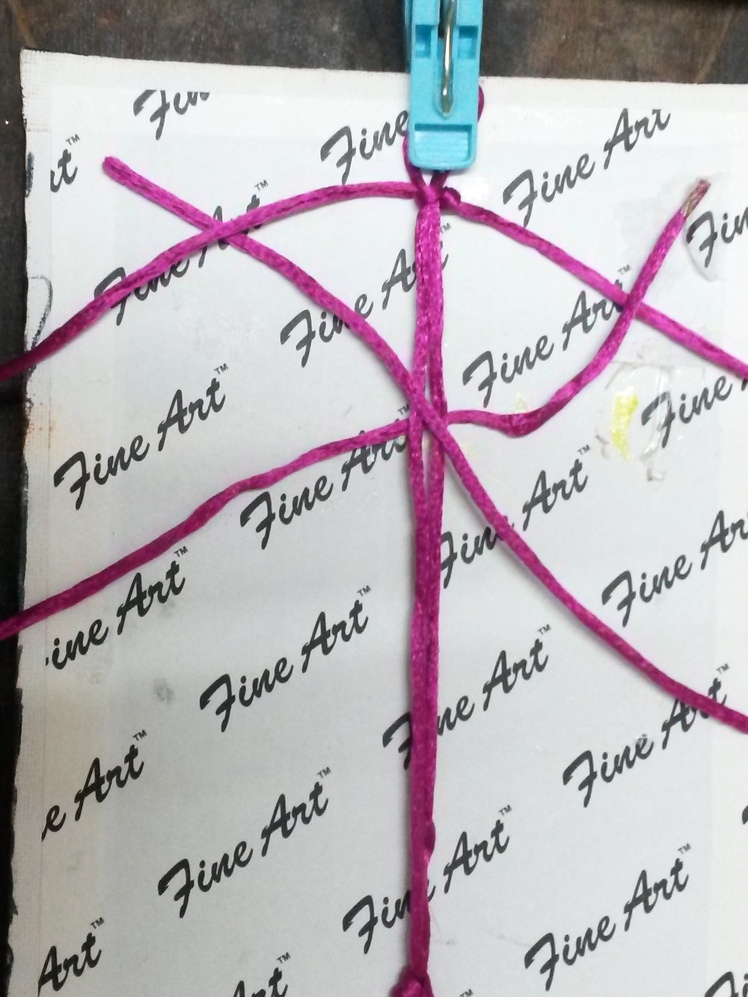
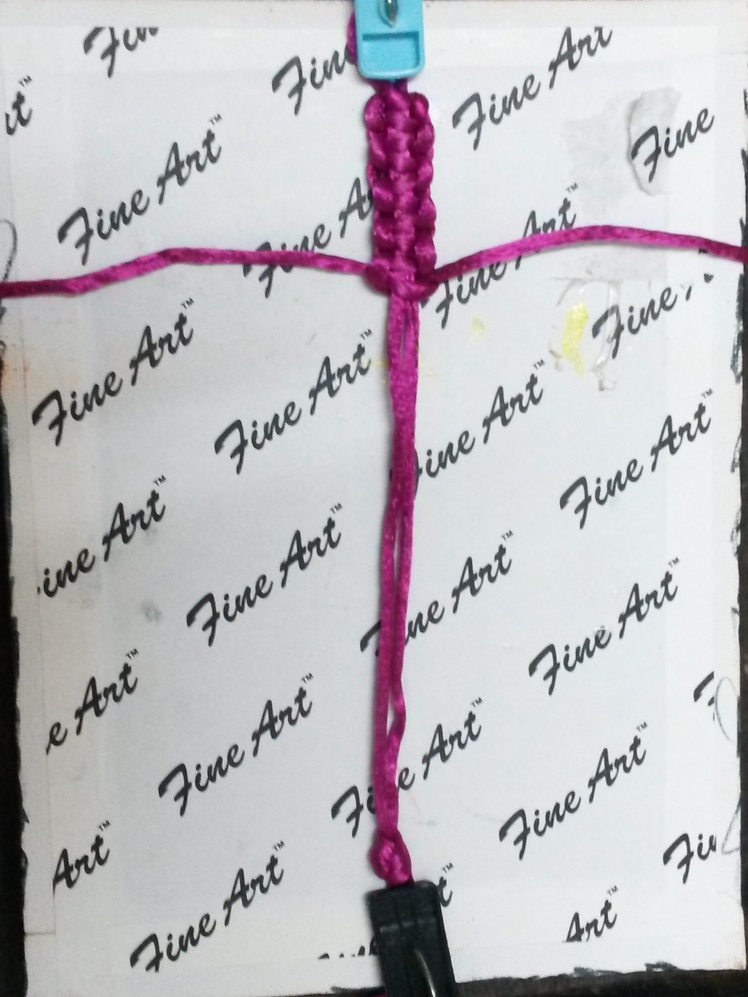
Now do from right side first and then left side. To make it simple, the nail polish end always goes first (under and over) and the other end always goes second (over and under). Keep repeating this.
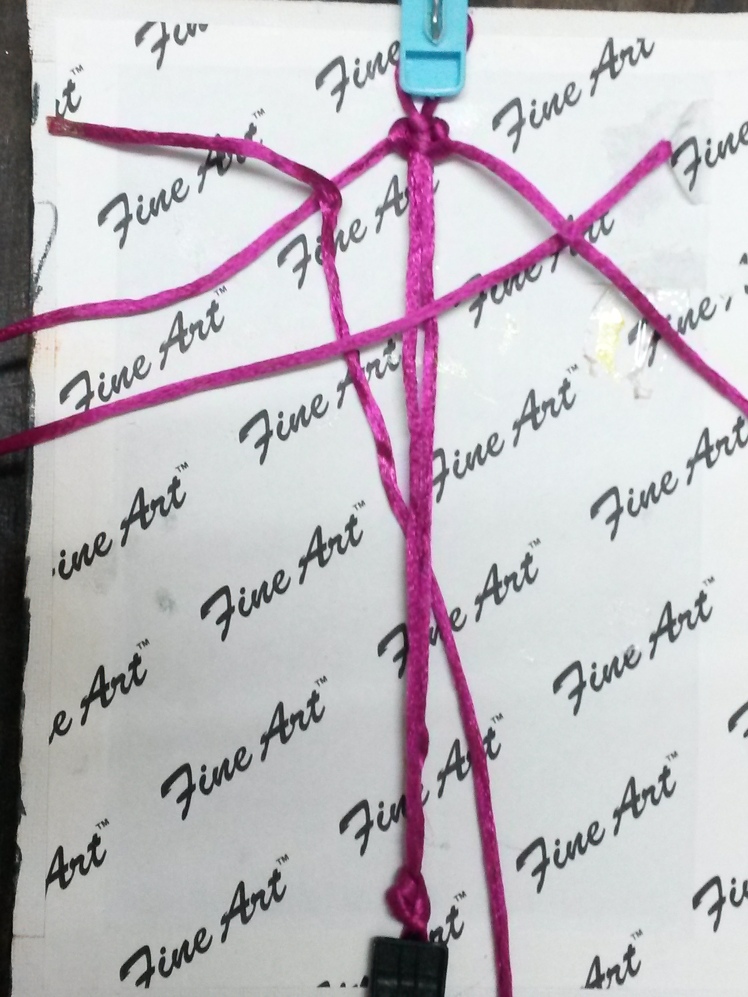
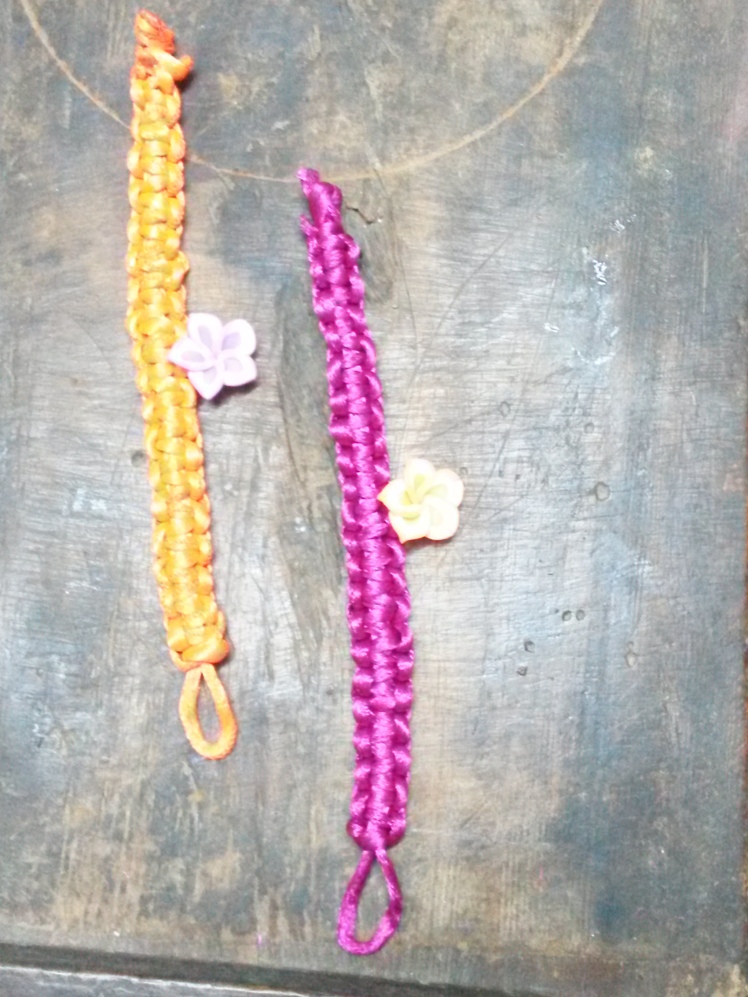
You will have beautiful macrame knots. A close up shot.
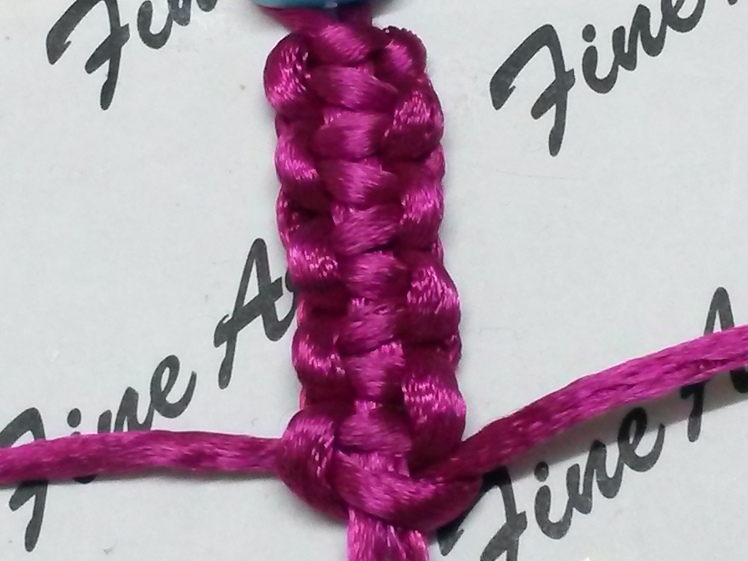
Once done, tie on the end and seal the ends to prevent from fraying. Tip: Add glue in the open ends for extra precaution!
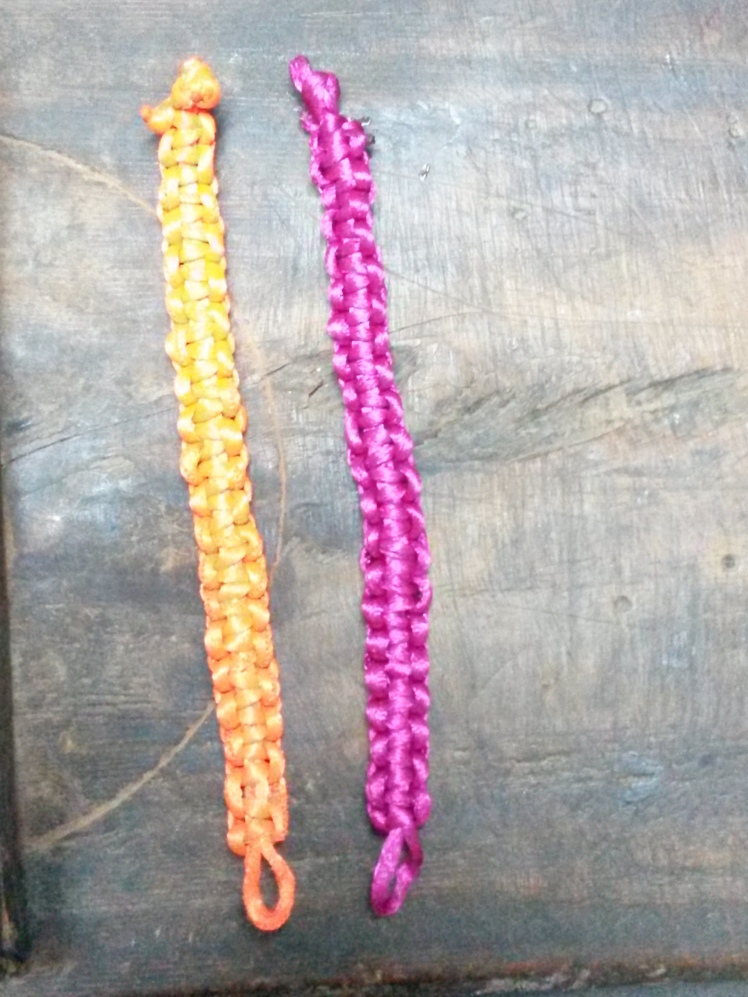
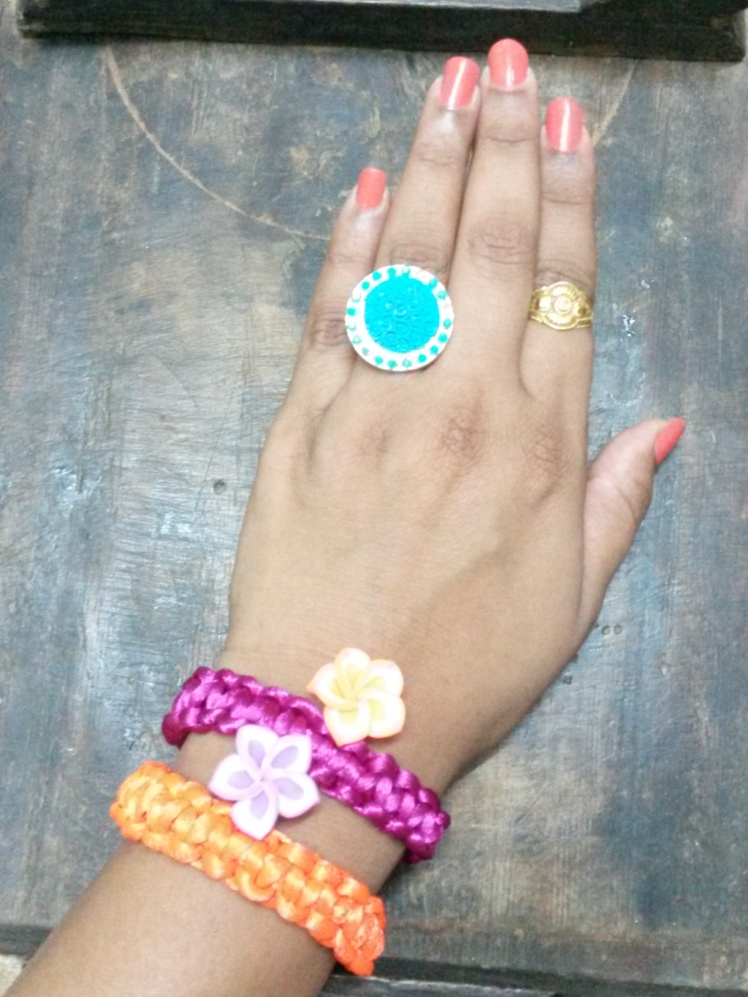
Your bracelet is ready. I made in two colors.
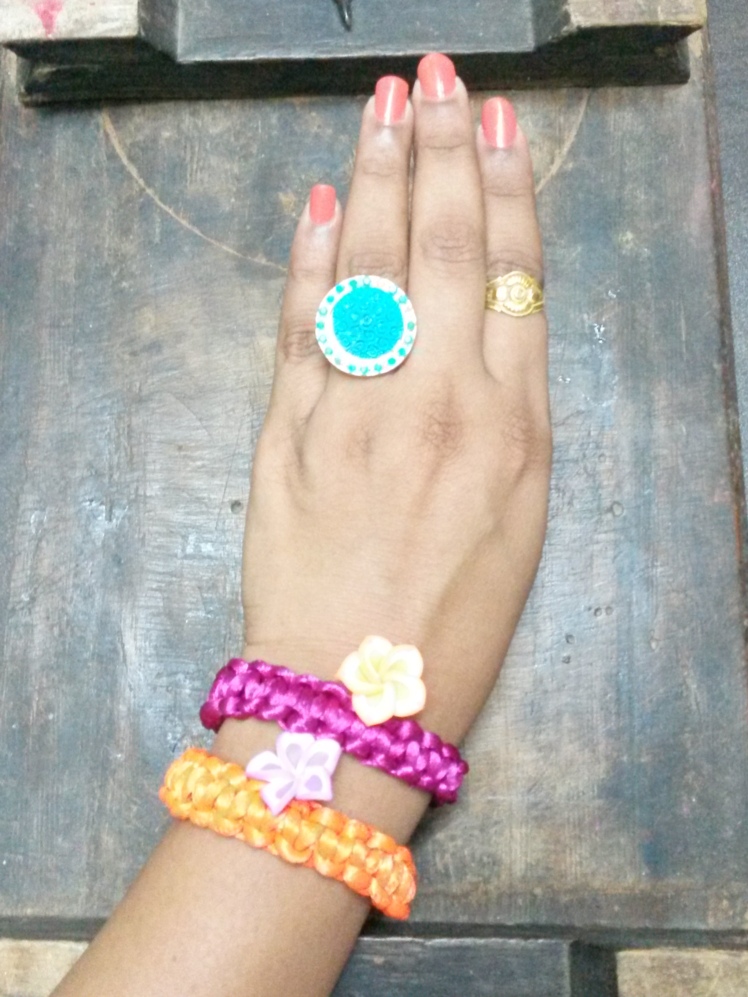
You can even add embellishment as of your choice, charms etc.
I have added 2 polymer clay rose.

Don’t they look pretty :)!!
Let me know if you have any questions… Would love to answer. 🙂
Sure, will do. 🙂